📌 Key Takeaways
When it comes to a pest control inspection checklist, there is a lot worth knowing before you get started. If you manage a building, run a restaurant, or oversee facilities for a school district, you already know pests don’t send a warning before they show up. By the time you see a cockroach scurry across the kitchen floor in broad daylight, there’s usually a colony hiding somewhere nobody’s bothered to check.
A solid pest inspection checklist takes the guesswork out of prevention and turns a vague worry into something you can actually repeat and trust. It also gives your team a clear record of what was checked and when, which helps spot patterns and keeps everyone accountable. For busy properties, that consistency is often what separates a small issue caught early from a costly surprise. This article walks through what a real inspection should cover, how often it needs to happen, and the tools that make the difference between catching a problem early and finding out about it only after it’s cost you real money.
Why a Structured Checklist Matters More Than a Quick Walkthrough
A lot of people treat pest inspection like a five-minute glance around the break room. That doesn’t cut it, honestly, because it misses the spots where pests actually live and breed. You’re not just hunting for bugs. You’re looking for the conditions that let bugs stick around: a way in, something to eat, something to drink, and a place to hide where nobody’s going to bother them.
Skip any one of those, and you’ve left a gap. You could seal every crack in your foundation and still end up with an infestation because a leaky pipe under a sink is handing pests all the water they need. Hidden problems matter just as much for wood-destroying pests, since the damage termites can cause often goes unnoticed for months behind walls and under floors. A structured checklist forces you to look at the whole picture instead of zeroing in on whatever pest you happened to spot last week.
The Core Categories Every Pest Inspection Checklist Should Cover
1. Entry Points
Start outside and work your way in. Check the gaps around utility lines, vents, and pipes where they cut through exterior walls. Look at door sweeps, window screens, and the seals around loading docks if it’s a commercial space you’re dealing with. Rodents can squeeze through an opening the size of a quarter, and most crawling insects need even less than that. Don’t forget seasonal changes either, since wood warps and door sweeps wear thin in ways that weren’t a problem the last time you looked.
2. Food Sources
It sounds obvious, but it gets missed all the time anyway. Crumbs behind appliances, uncovered trash bins, pet food left out overnight, spilled grain in a storage room it all counts. In commercial pest control, kitchens need extra attention here, since grease traps and prep surfaces that aren’t cleaned properly turn into long-term feeding grounds. Even a small amount of leftover food can keep a population going that you never actually see.
3. Water Sources
Standing water, condensation from HVAC units, a leaky faucet, and clogged gutters these all give pests what they need to survive. Cockroaches can actually go longer without food than without water, so a damp basement or a slow drip under a sink is sometimes the real driver behind an infestation, more than any food source. Check crawl spaces and the area around water heaters too, since people tend to skip those during a routine walkthrough.
4. Harborage Sites
Harborage just means shelter: the dark, cluttered, undisturbed spots where pests nest and multiply. Cardboard boxes stacked in storage, piles of unused equipment, gaps behind wall-mounted shelving, dense vegetation pressed against the building these are the classic offenders. Clearing out clutter isn’t just tidying up for appearance’s sake; it removes the hiding spots pests actually need.
5. Sanitation Practices
Sanitation is what ties the first four categories together. A building might have solid sealing and no food left lying around, but if trash pickup is irregular or cleaning schedules slip, pests will find the gaps anyway. Look at how often bins get emptied, whether drains are cleaned on any kind of schedule, and whether staff actually report spills or clutter when they see them.
Inspections Aren’t a One-Time Event
One mistake people keep making is treating pest inspection like something you do once and cross off forever. That’s not how it works. Ongoing monitoring is part of the job, not some add-on you can skip. Seasons shift, buildings settle, new tenants or staff bring new habits with them, and pests adapt right along with all of it, including common household pests like ants, cockroaches, and mice. A checklist that worked fine in March might miss what’s going on by August.
Pick a cadence that fits your property. A food service facility might need weekly interior checks and monthly exterior ones. A quiet office building could probably get away with quarterly inspections plus a thorough annual review. Whatever you land on, write it down and actually follow it, because inconsistent inspections have a way of quietly turning into no inspections at all.
Tools That Actually Help During an Inspection
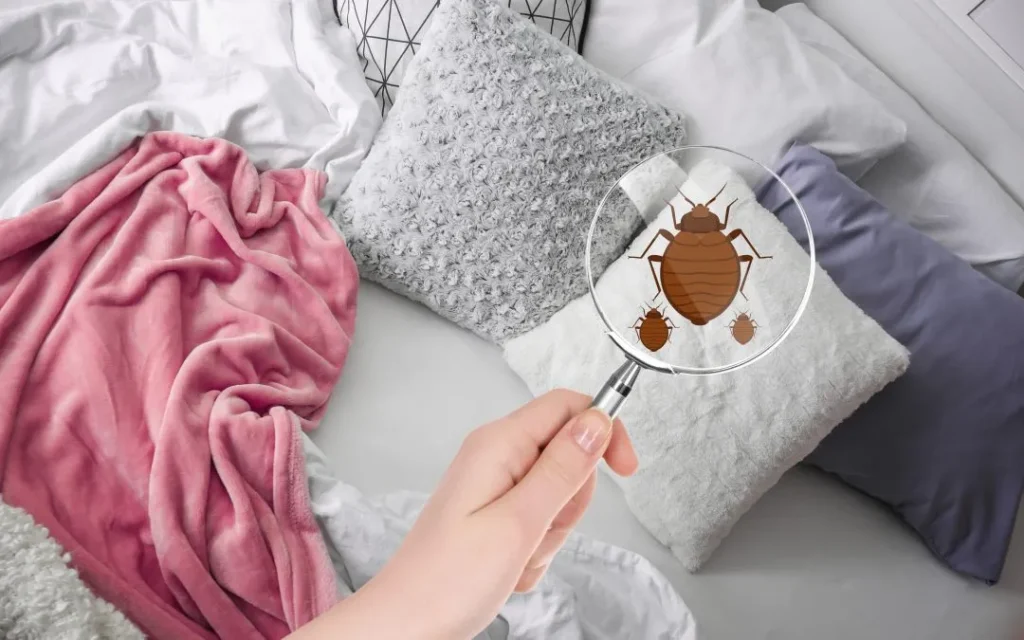
You don’t need fancy equipment for a decent pest inspection, but a few basic tools go a long way. Maine’s School IPM Checklists recommend inspectors “use a bright flashlight and a magnifying glass,” and honestly, that advice holds up well outside of schools too. A flashlight gets you into the dark corners, behind appliances, up into ceiling voids where pests sit tight during daylight hours. A magnifying glass helps confirm what you’re actually looking at, since droppings, egg casings, and shed skins from different pests can look nearly identical at a glance but mean very different things.
A few other items worth keeping in your kit:
A small mirror on a telescoping handle lets you check behind pipes and under equipment without crawling into tight spots. When inspecting for common household pests, a moisture meter can help you determine whether a damp-looking patch is a potential water source worth investigating. Sticky traps placed in known trouble spots give you a way to track pest activity between formal inspections, instead of relying purely on what you happen to spot with your own eyes.
What to Document During an Inspection
A checklist is only as good as the records it leaves behind. For every area you check, note the date, what you found, and exactly where; “behind the walk-in freezer” tells you a lot more than just “kitchen” does. Photos help a ton here too, especially for tracking whether a trouble spot is getting better or worse over time. If you find signs of pests, write down what kind of evidence it is droppings, gnaw marks, nesting material, live insects and take a guess at how recent it looks.
Why bother with all this documentation? A few reasons, really. It gives you something to compare future inspections against. It creates a paper trail if you ever need to bring in a pest control contractor or prove compliance to a health inspector. And it helps you notice patterns, like that one entry point near the loading dock that keeps getting “fixed” without ever actually getting fixed.
Interior vs Exterior Checks
It helps to split your pest inspection checklist into two separate passes instead of trying to cover everything at once. Exterior checks focus on the building envelope: the grounds, drainage, vegetation, waste storage areas. Interior checks cover kitchens, storage rooms, utility closets, bathrooms, and anywhere with plumbing. Pests move between these zones constantly, so a weak spot outside often turns into an indoor infestation weeks down the line. Doing both passes on a regular schedule, rather than only reacting once someone spots a bug inside, catches problems while they’re still small enough to handle easily.
Common Mistakes to Avoid
A few errors show up again and again, even in buildings that technically have a checklist in place. Rushing through storage rooms because they’re a pain to access is a big one, and that’s exactly where harborage sites tend to form. Only inspecting during business hours is another, since it misses nocturnal pests like cockroaches and rodents that get a lot more active once everyone’s gone home. And relying entirely on visual sightings instead of looking for indirect evidence — droppings, gnaw marks, that sort of thing — is a gap too, because by the time you actually see the pest itself, the population is usually already well established.
Conclusion
A pest inspection checklist isn’t about catching every single insect before it ever sets foot in your building; let’s be realistic, that’s never going to happen. It’s about reducing risk systematically by checking the same core areas every time: entry points, food, water, harborage, and sanitation. Pair that with the right tools, a consistent schedule, and proper documentation, and pest management becomes proactive rather than reactive. For businesses and homeowners, working with a professional pest control service like Delmarva’s Best Pest Control can further support prevention through targeted inspections and appropriate treatment strategies. The buildings that stay pest-free usually aren’t the lucky ones. They’re the ones where someone follows a checklist consistently and addresses small problems before they turn into major infestations.
FAQ
How often should a pest inspection checklist be used?
Depends on the facility, but most commercial spaces do fine with monthly interior checks and seasonal exterior reviews. High-risk environments like food service need more frequent attention, sometimes weekly.
Can I do a pest inspection myself, or do I need a professional?
Basic checklist inspections can be handled by trained staff using the categories above: entry points, food, water, harborage. That said, identifying specific pest species or treating an active infestation usually calls for a licensed pest control professional.
What’s the difference between a pest inspection and pest control treatment?
Inspection is about spotting evidence and risk factors before or after an infestation takes hold. Treatment is the actual work of getting rid of pests once they’re there. A good checklist supports both by catching problems early enough that treatment can stay targeted instead of turning into a widespread response.
What should I do if I find signs of pests during an inspection?
Write down the location and type of evidence, deal with any obvious contributing factors like food or water sources, and call a pest control professional if what you’re seeing points to an active or growing population rather than a one-off incident.